Got a lot done today. First, as someone who is NOT a woodworking expert, I have to say I was pleasantly surprised by what I got done today. I've been dreading the control panel for some time, especially drilling the button holes and using a flush bit with my router to shape the Lexan.
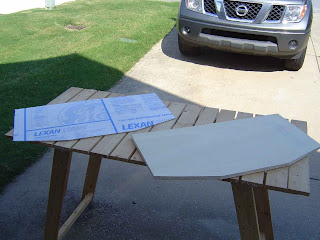
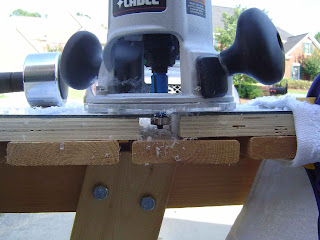
Well, the LEXAN cut like butter - my feed speed was about 1" per second and there was no burn or melting. I used a double-flute flush bit with a pilot - I had ZERO clue what this pilot thing was until I just sat down and examined what I needed to do and how this bit would help me. I hope that one of my images here will help someone else in my shoes - it shows that the pilot (a little silver spinner at the end of the bit) is rolling against the 3/4" plywood and the blade is cutting the Lexan. I just had to figure out how to properly clamp the pieces and give myself a gap between the CP and the spare pieces of 3/4" I used to support the Lexan that would become waste.
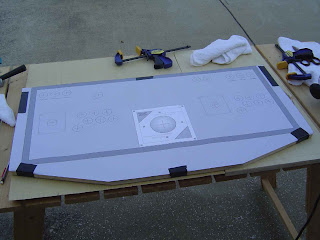
I know a lot of people have said that using a portable-drill-press-plunger (the kind that attaches to your electric drill) isn't the best way to go, but it's all I actually own. I don't have room (yet) for a full size drill press, so I pulled out the device, attached my drill, put the Forstner 1-1/8" in the chuck and used my center marks on all the holes for accuracy. I had to put a little more energy into pushing down on the drill, but it worked and my holes came out great (I used a spare piece of plywood on the bottom to prevent splintering).

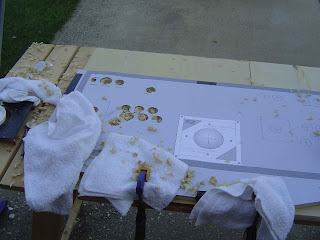
Tomorrow I'll use these holes as pilot holes to drill the Lexan button holes. I also drilled to holes that will hold the trackball plate in place (I'm going to route out the plate space so it is flush with the CP surface). I inserted the trackball plate just to make certain all my drill holes were dead-on and they were... so I know that using the trackball plate as a template for routing my trackball hole will be perfect with my CP overlay.

Had fun - the afternoon went too fast but I did a lot of "measure twice" type work and took my time. I should be able to do some more routing tomorrow - I'm anxious to get this CP done! I've got all my electronics now, so it's coming together...


